
One easy way to add some architectural detail and interest to a house that might be a bit dated or a bit "builder's grade" is with molding and wainscoting.

When we moved into our house, every single room on the first floor was a yellow / peach color. Although the kitchen and dining room had been remodeled only five years earlier, there was no contrast. The cabinets were a light maple color, the backsplash tile was a Harlequin pattern of light and dark beige, the floors were a light maple Pergo, the curtains were beige and brown, the fridge was almond. The existing baseboards and trim were an off-white that was very close to the wall color. Everything just ran together.

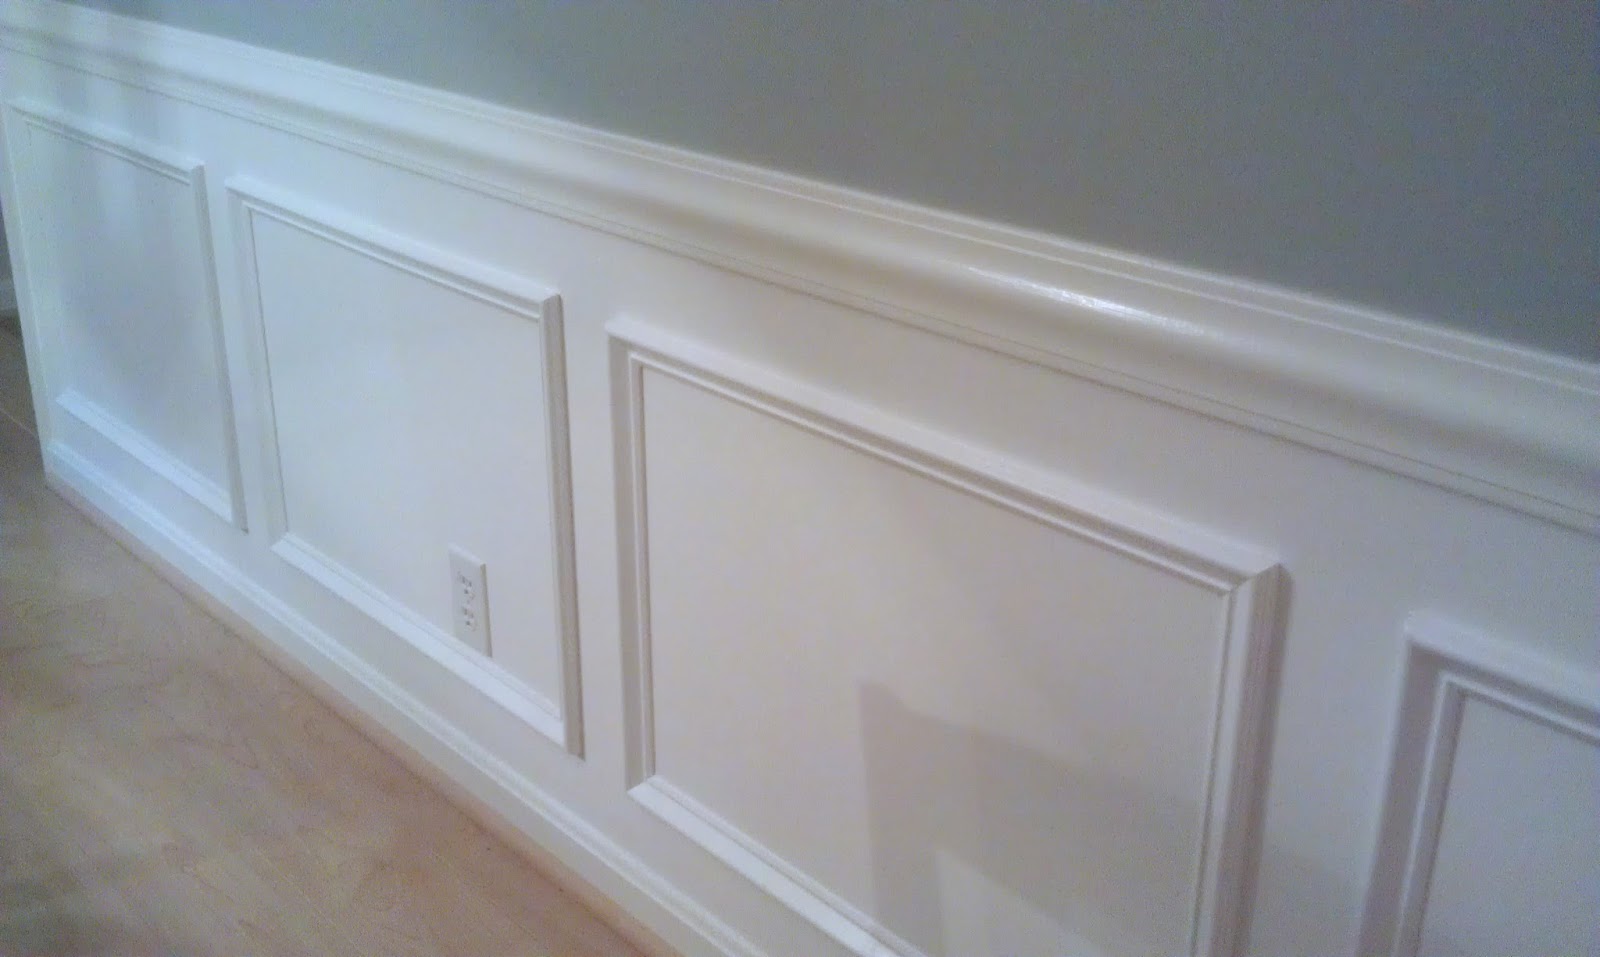
One of the changes we made to the house early on was to paint the kitchen and dining room. We took painting one step further though and decided to add some detail and contrast by adding picture frame wainscoting in crisp white as well. The wall color above the molding is Valspar Voyage - it's a bluish gray that really brought some much needed contrast to our kitchen and dining room and toned down the yellowness of our cabinets and floors. Depending on the lighting it can read very blue but in real life I think it's closer to the color in the bottom picture than above.

The paint and moldings made a huge difference, so did changing out the chandelier. The one in the first picture the original owners actually took with them and left us with an slightly less sparkly brass chandelier that I spray painted white and hung in my daughter's room upstairs - it's actually really cute there. In the dining room, it was not my thing. The new stainless refrigerator also made a huge difference compared to the old almond one. So sad that I'm taking that beauty with me to Texas. I'm also going to miss all that cabinetry... This kitchen has so much storage!

I'm a big fan of painting any and all trim a crisp bright white, it can make such a huge impact. We were lucky and we had smooth walls, if your walls are textured, you will probably want to do a piece of MDF before you put up the molding or it's not going to give you the same effect. In our next house, we'll be doing the MDF first.

We painted the walls under the chair rail, the base boards and the chair rail (as well as all the door and window frames) bright white. We used Valspar's semi-gloss in Ultra White. Paint the walls first so you can just roll everything on. It will be so much easier.

Next we bought some thin picture frame molding and started planning out our boxes. We adjusted the measurements to fit our space. We kept all the spaces in between the boxes, between the baseboards, chair rail and any windows or vents that we had to go around equal so that even if we varied the size of the boxes it didn't look random. It really helped it look much more consistent. Our spacing between the baseboards, chair rail and boxes and other fixtures was approximately three inches. We used a laser level to mark the horizontal lines with painters tape and then measured the length of the wall, figured out how many boxes we wanted and then add the space in between and divided the total remaining inches to figure out where to mark the vertical spaces. Just my advice, but it really helped us to draw it out on a piece of paper to do the math, it made it much easier to visualize.

We primed and painted all the trim pieces before putting them on the walls. Then once we had everything attached, we caulked any seams and filled any nail holes, then touched up the paint.
Don't skip the caulk - it will really help you get professional results. Without caulk, you see any imperfections in your walls (they aren't ever perfectly straight), any bad miter cuts you might make, etc. We like to use the DAP paintable caulk to finish everything off. Just apply a thin bead, then smooth with your finger. Once the caulking and spackle are dry, lightly sand any necessary areas to smooth everything out and then touch up your paint.


